🪟Tiling
Cracked Tile Replacement in Israel: Repair Guide
By KABLAY Editorial · · 12 min read · Updated:
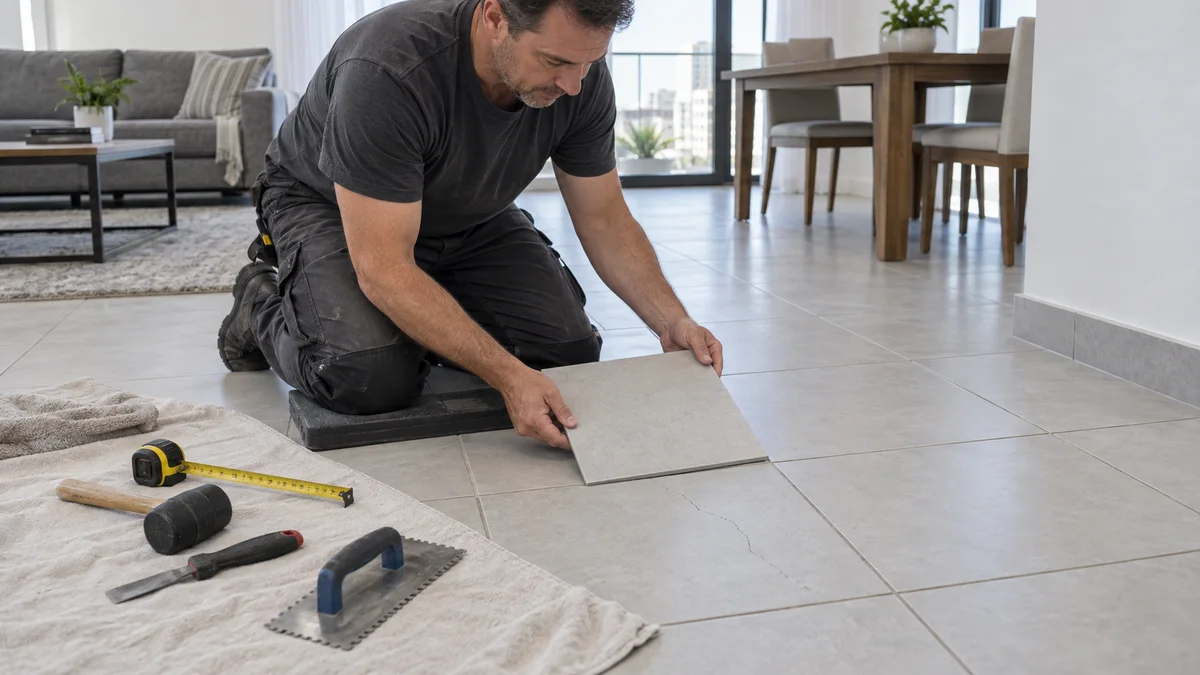
A cracked tile can sometimes be replaced locally while the surrounding finish stays in place. A new tile, however, does not remove substrate movement, recurring moisture or the reason nearby tiles are lifting. Start by establishing whether the damage appears isolated or part of a wider problem. Only then select a replacement and agree on removal.
This guide covers booking a floor or wall repair in Israel, matching materials, comparing scope and checking the result. The bathroom tile selection guide can help with materials. Here the focus is a damaged element, rather than a complete room refurbishment; inspection and the layers beneath the finish determine the appropriate work.
Look beyond the visible crack
Record when you noticed it and whether an impact, renovation, leak or furniture movement preceded it. Provide an overall photograph and a close view. A single crack beside an impact location and a line continuing across several neighbouring tiles are different starting points. If tiles are lifting, edges protrude or the crack is growing, do not restrict the request to replacing one square.
A hollow sound when tapping does not establish the cause or repair extent on its own. A photograph does not confirm substrate stability or intact waterproofing either. Ask the tiler to explain the observed signs and what can be assessed without opening the surface. Evidence of a more substantial problem needs an appropriate specialist, rather than a confident diagnosis from one picture.
When a local replacement is worth considering
A local repair is easier to consider when the damage is limited, neighbouring elements are stable and a suitable spare exists or can be obtained. The final approach still depends on the substrate, access and position. A shower wall, dry hallway and floor with unknown services require different arrangements. Establish what discoveries might change the initial offer after removal.
If the cause is uncertain, separate the assessment, agreed opening and subsequent repair. This does not mean accepting an unlimited extra charge. Record a stopping point, photographs of exposed conditions and a new agreement before enlarging the removal area. A small repair should not become an uncontrolled refurbishment simply because the first tile has been taken out.
Match more than the colour
A spare left from the original installation, together with its packaging and batch information, is a useful starting point. Otherwise collect the model, actual dimensions, thickness, edge type and surface details. The same product name from another batch does not necessarily provide an identical shade or size. Compare a physical sample beside the existing finish under normal lighting.
A screen photograph cannot establish an exact colour match. Glossy and matt surfaces of a similar shade look different, and changed edges affect the joint width. Do not buy solely on a description such as similar grey. If an exact match is unavailable, discuss the visible difference, an agreed alternative location or a wider replacement before the work starts.
- Check the available sample’s length, width and thickness.
- Keep the product reference, batch, size marking and finish information.
- Compare it beside the existing wall or floor, not only in a shop.
- Agree who obtains the spare and how much is needed given the risk of breakage.
Waterproofing matters beneath a wet-area tile
A tile and its joint do not replace a separate waterproofing layer where the system requires one. Removal can damage what is underneath. For a shower, area beside a bath or another wet location, discuss how waterproofing will be preserved or reinstated and whether a suitable local detail can be achieved.
Mapei’s AquaDefense product description presents waterproofing as a layer beneath the tile finish. It is an example of a distinct system, not a universal repair instruction for every bathroom.
If opening reveals damage or an unidentified arrangement, replacing the tile and filling its joints is not enough to promise watertightness. Assessment, compatible materials and a defined solution are needed. Agree to inspect before continuing. Being able to use the shower that evening should not take priority over understanding the condition of the layers below.
Plan removal around neighbouring finishes
The tiler should assess how to separate the damaged area without unnecessarily harming adjacent edges and the substrate. Clarify surrounding protection, dust control, waste handling and access. Do not start breaking the tile yourself: pipes, wiring, heating elements or a sensitive layer may be underneath without reliable information about their position.
Mention floor heating and known service routes even if you believe they are away from the crack. In a small bathroom, protect furniture and sanitary fittings. If local access is impractical or neighbouring tiles are at substantial risk, the provider should explain that before removal and agree on what happens next. A spare tile alone does not eliminate those risks.
Assess the exposed substrate and adhesive system
After removal, the underlying surface and remaining materials can be assessed. Preparation and adhesive selection depend on that condition, the tile and the installation location. Do not impose one universal layer thickness or waiting period taken from an unrelated instruction. The materials and sequence need to suit the actual system and their manufacturers’ guidance.
A problem revealed underneath should not simply be hidden by a new tile. Ask for a photograph and explanation of whether local preparation, extra drying or another intervention is needed. If the discussion moves to laying over existing tiles, see the separate guide to tiling over tiles or removal. That is a different scope from replacing one damaged element.
Keep joints, levels and drainage in mind
The replacement needs to fit the surrounding pattern, joint width and plane. A projecting floor edge can interfere with walking; changed falls in a wet area can affect drainage. Point out a nearby drain or an existing transition between surfaces before installation. Assess the new position in relation to the surrounding area, rather than looking at the tile in isolation.
Movement or flexible joints should not automatically be filled with ordinary rigid grout. Agree on the joint material and purpose separately. The tile joint guide explains related selection and maintenance questions. A close grout colour may still differ from an existing joint that has changed appearance during use.
Compare a complete small-repair quote
The price of one tile is not the price of a visit. A small job may involve assessment, protection, removal, preparation, waiting between stages and a return trip. Compare offers using the same description and the uncertainties below the finish. A square-metre rate for a large installation does not necessarily describe the cost of this local repair.
- Number of elements, dimensions and installation location.
- Matching and purchasing the spare, with its supplier specified.
- Protection, removal, substrate preparation, installation and joints.
- Waterproofing and local repairs, with their inclusion or inspection conditions stated.
- Waste, visit count, access dates, total and VAT where applicable.
Agree how hidden defects will be handled: notice, photographs, a proposed solution and cost before continuing. For a rented apartment or shared access, coordinate arrangements with the responsible people beforehand. Do not infer who must pay merely from a description of the crack. Payment and access arrangements are separate matters that should be agreed explicitly.
Plan restricted access and waiting time
Ask when you can walk over the area, clean it or use the wet zone. That depends on products, conditions and the sequence, so one waiting time will not suit every repair. If the tile is beside the only entrance or in the only shower, establish a route and temporary restrictions before work starts. Ordinary use should not resume earlier than the permitted stage.
An agreed barrier or clear reminder can prevent someone accidentally stepping on the fresh area. Do not place heavy furniture on it as an improvised early check. Include any return visit in the schedule and quote. Keep the care instructions and avoid using an aggressive residue remover immediately after installation simply to make the surface look finished sooner.
Inspect the completed local repair
Check the agreed material, pattern, joints, edge position and any new chips in neighbouring pieces. Inspect under normal lighting after the specified readiness stage. For floors, check for an unagreed projecting edge. In a wet area, discuss functional checking without premature exposure to water. Tapping alone does not prove the quality of every concealed layer.
Ask for photographs of the substrate and reinstated layers if they were part of the repair. Record what was done and any remaining limitations. The guide to paint and grout residue cleaning covers later cleanup questions; any treatment must still suit the new material and its readiness for use.
A Kablay request without an assumed diagnosis
You could write: “Please inspect a cracked bathroom floor tile. Overall pictures, the crack and the spare material are attached. The cause is unknown and a drain is nearby. Please assess local replacement, waterproofing and neighbouring tile protection. Include the stages, materials, visit count and approval process for defects found after opening.” Describe your actual observations rather than copying the example as a diagnosis.
Use the Kablay tiler category to compare responses by assessment, preparation and access conditions. A useful local repair protects the surrounding finish and accounts for what lies beneath it. A matching spare matters, but understanding the cause and agreeing on the sequence matter more than quickly hiding a crack.
Internal links
Useful pages on this topic
Frequently asked questions
- Can just one cracked tile be replaced?
- Sometimes, when the damage is local and the surrounding system is suitable for repair. Assess the cause, neighbouring tiles, substrate and availability of a matching spare first.
- Is the same product name enough for a match?
- No. Check actual dimensions, thickness, edges, finish, shade and batch. Another production run of the same product may differ visibly.
- Will new grout restore waterproofing?
- Not by itself. If the required layer below the tile is damaged, the system needs a separate suitable repair assessed before the area is closed.
- When can I walk on the replacement?
- After the permitted stage in the material and installer instructions. The time depends on the system and conditions and should be part of the access plan before work starts.