🪟Tiling
Water Escaping the Shower: Door Seal, Slope or Waterproofing?
By KABLAY Editorial · · 8 min read · Updated:
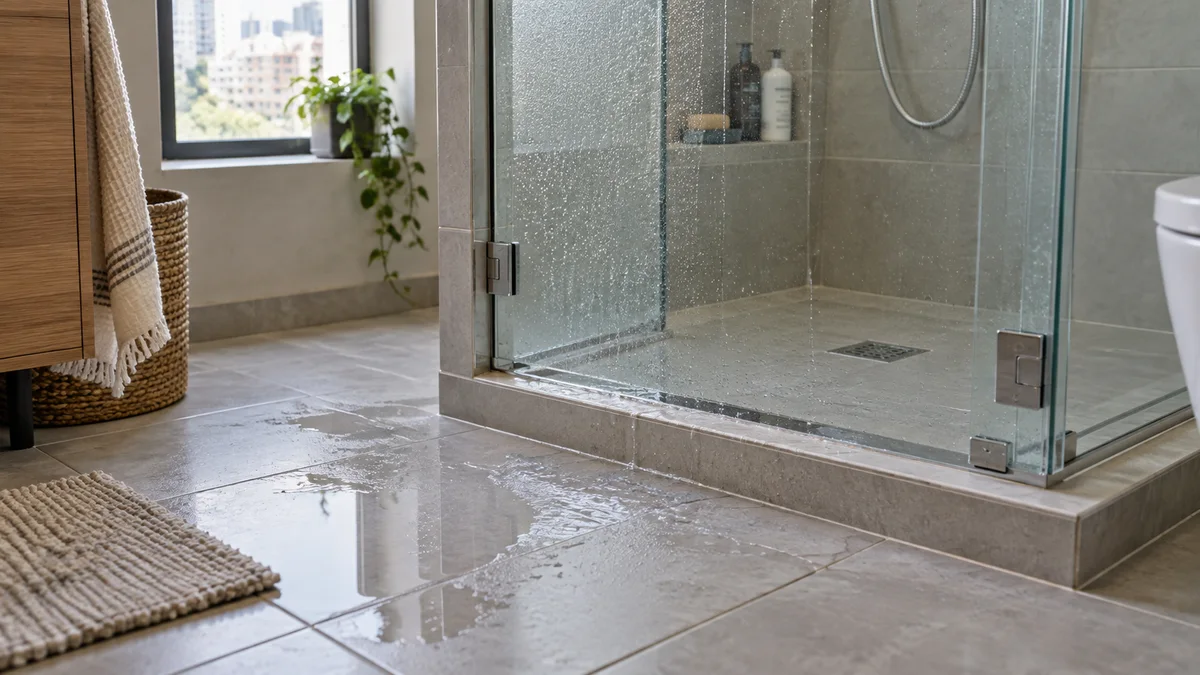
A puddle beyond the shower door looks like a small seal failure. Yet the same mark can come from splashing through the opening, a floor sloped toward the door, a slow drain that raises the water level, or moisture travelling under tile. Before buying silicone, note exactly when the water appears, where the first drop emerges and whether the floor remains damp after the visible surface dries. That record helps distinguish a glass-door job from tiling or plumbing work.
Protect the apartment first
Stop using the shower if water reaches an electrical outlet, cabinetry, the hallway or a neighbour's ceiling. Remove standing water, photograph the location and inform the landlord or building manager if shared construction may be affected. Do not run a long flood test when the downstairs ceiling is already wet. Short, controlled checks from a dry starting floor are more useful and cause less damage.
Map the puddle
Dry the floor, then place separate paper-towel strips beside the fixed glass, under the moving door, at its hinge and outside the threshold. Run the shower briefly in the usual direction and record which strip wets first. Repeat while pointing the spray away from the door. Water that appears only when the jet hits the glass suggests the bottom sweep, hinge side or enclosure joint. Water that appears later without direct spray points toward the floor, drain or wall junction. Avoid sealing every gap before testing, since that can divert water into the wall.
Inspect the door and bottom seal
Check that the glass meets its stop evenly, the lower drip strip sits in the correct direction, the magnetic strips align and the hinges have not shifted. A seal may look intact yet be split at one end or reversed after cleaning. Remove hair and scale from accessible profiles with a tool suitable for the finish. If the door has sagged, fresh silicone cannot correct its geometry. Send a glass specialist photos with the door open and closed, the floor clearance and the swing direction. Avoid dismantling tempered-glass fittings without the right training.
Check threshold, slope and drain together
Watch whether the water level rises toward the threshold during an ordinary shower. A slow drain, debris at the accessible grate or a persistent pool near the exit changes the diagnosis. Even a sound door is not designed to hold back a floor that continuously sends water outward. Remove only accessible surface debris in line with the drain's instructions; do not push a blockage deeper. A tiler should examine the finished floor, drain height, threshold and wall junction as one assembly. New grout does not change the slope.
Grout is not waterproofing
Schluter's shower guidance explains that tile and grout are not inherently waterproof. The protective system sits behind or beneath the finish and must join the drain properly. Recurring dampness outside the shower, a wet skirting board or a stain below may therefore need investigation of the concealed assembly. Covering every joint with silicone can conceal the symptom while keeping water trapped. Ask how a contractor plans to verify the cause before agreeing to remove all the tile.
Repairs that may avoid demolition
If the controlled test clearly finds water escaping at the bottom sweep, select a compatible replacement by glass thickness and profile, not length alone. Cleaning, adjustment and proper replacement often solve a local enclosure issue. If water overtops the threshold because of a blockage, restore drainage before testing again. At a junction, use a compatible sanitary sealant only after unsound old sealant is removed, the area is cleaned and dried, and the manufacturer's cure time is followed. Applying a fresh bead onto damp dirt is unlikely to last.
Choose the right trade and quote
A glass specialist handles door geometry and fittings; a plumber handles drainage and accessible pipes; a tiler experienced in waterproofing handles slope, threshold and tile assembly. Complex cases may need a joint inspection or written division of responsibility. State the renovation age, floor level, shower type, first wet point, dry-and-wet photos, a short test video and any dampness on the other side of the wall. Ask for diagnosis, door repair, drain work, exploratory opening and waterproofing restoration as separate quote lines. This prevents a cheap sealant quote from being compared with a full repair.
Acceptance checks
After repair, repeat the same short test with the original spray direction and observation time. Inspect the outside threshold, wall joint, grate and floor; check again the following day. If the floor was opened, request photos of each layer before it is covered and the materials used. Keep documentation if a neighbour may have damage. For floor and waterproofing work, brief a tiler; for a slow drain, brief a plumber.
Internal links
Useful pages on this topic
Frequently asked questions
- Can I just replace the silicone around the shower?
- Only if a short controlled test identifies an accessible joint as the escape point. A bad slope, overflowing threshold or failed concealed waterproofing needs a different repair.
- Do I need a plumber or a tiler?
- A plumber checks slow drainage and pipes; a tiler checks slope, threshold and waterproofing. A shower-glass specialist handles the door and its seals.