🪟Tiling
Kitchen Tile Backsplash in Rehovot: Plan and Quote
By KABLAY Editorial · · 12 min read · Updated:
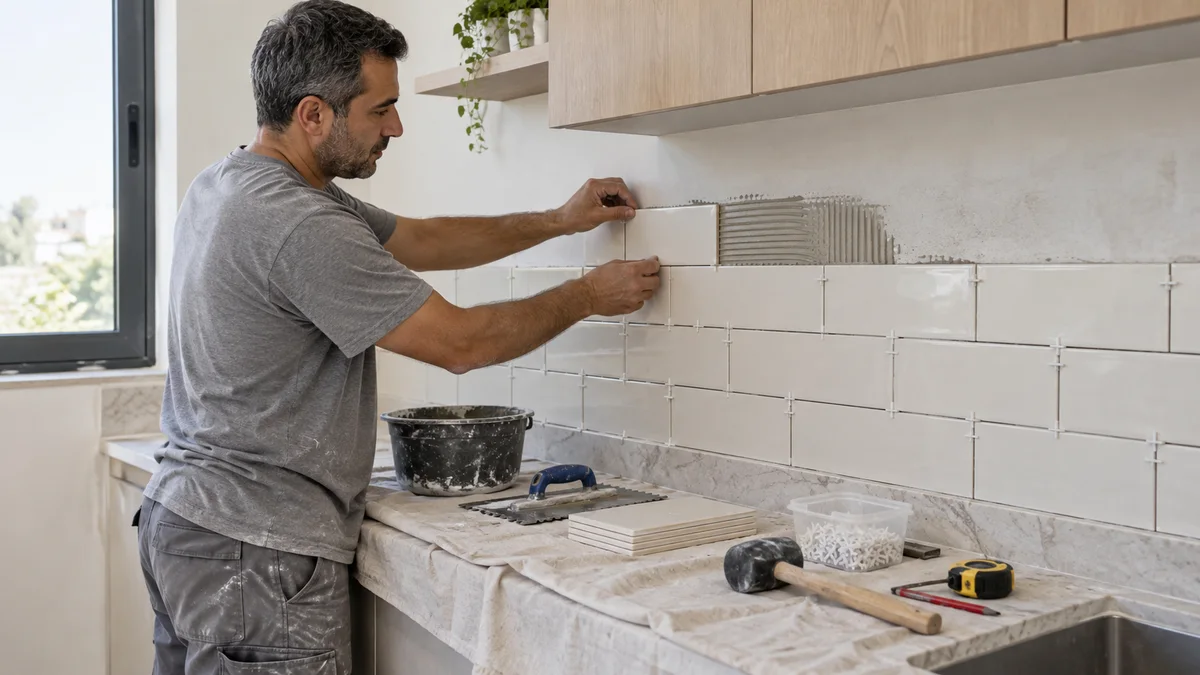
A tiled kitchen backsplash in Rehovot should be planned alongside the worktop, sockets and appliances. A small area is not necessarily a simple job: edge cuts, junctions, alignment and differences from the furniture are particularly visible there. Agree on the substrate, layout and boundaries before purchasing, then compare the full installation scope.
This guide helps prepare a tiler booking and inspect the result. It does not set a universal height for every appliance. Clearances and requirements depend on the installed equipment, materials and applicable instructions. For a wider refurbishment, use the renovation budget guide to keep different stages visible instead of hiding them in one amount.
Draw the area before ordering tiles
Provide width, height, corners, cupboard positions and final backsplash edges. Mark the sink, hob, extractor and visible sockets. Decide whether tiling continues behind equipment or stops at an agreed boundary. A standard backsplash does not describe what will remain visible when the kitchen is in use.
Show whether the worktop is finally installed and the cupboards are complete. Later changes affect joints and layout. If the kitchen is still being designed, coordinate the sequence between the furniture installer, tiler and relevant specialists. Final measurements should reflect the actual installation rather than only an earlier drawing with assumed dimensions.
Assess the existing substrate
A painted wall, old tiles and a new board are different starting points. Mention grease, peeling, moisture marks and previous repairs. Inspection should establish suitability and preparation. Adhesive is not an automatic remedy for a weak surface or substantial unevenness. A separate preparation stage may be needed before installation.
MAPEI Home’s backsplash plan starts with assessing and preparing the substrate. The actual materials still need to suit your surface and selected tile.
If installation over existing tiles is proposed, see the comparison of that approach and removal. Added thickness affects sockets, edges and junctions. An old finish is not suitable simply because it remains attached; condition and system compatibility need assessment.
Select appearance together with care requirements
Provide a sample, product marking, dimensions, thickness and finish. Ceramic, porcelain, glass and natural stone can need different materials and preparation. Do not transfer a specification between tiles solely because their shades are similar. For a textured finish, consider cleaning access and compatible routine care products.
Compare the sample beside the worktop and fronts under your lighting. A small card or screen cannot show the full pattern. Confirm orientation, image variation and cutting limitations. A multi-piece pattern needs its repeat and agreed spare allowance considered in the order, not just the square metres of wall surface.
Approve layout and visible cuts
Discuss the starting point, central alignment, corners and ends. A cut beside the most visible edge can differ from your expectation. Ask for a dry arrangement or an understandable drawing before fixing. Agree joints in relation to cupboard lines. Altering the layout after installation begins is harder than deciding from a sample.
Identify open edges and junctions. These may need a specified profile, a finished tile edge or another appropriate detail. The component must suit the thickness and finish. Do not leave the ending undefined if it matters to the kitchen’s appearance. Keep a photograph of the approved arrangement for checking at completion.
Coordinate sockets and electrical components
Socket positions affect cuts, thickness and openings. Show them in advance and establish who carries out necessary electrical work. Tiling should not silently become a wiring relocation or connection modification job. Where an intervention is needed, an appropriate qualified specialist plans it around the relevant installation stages.
Do not remove electrical components yourself to speed preparation. Handover should include the completed appearance and agreed equipment readiness rather than an open box behind fresh tiles. Clarify how the added thickness affects the existing installation. A photograph before covering the area is useful but does not replace specialist work and checks.
Check the area beside cooking equipment
Materials, adhesive and placement near an appliance should be checked against its particular instructions and installation conditions. A height used in another kitchen does not determine clearances in yours. Show the equipment documentation and proposed boundary. Missing information should be confirmed rather than replaced by a universal number from a picture.
Moving gas or electrical equipment is a separate task. Do not disconnect it for access without appropriate expertise and arrangements. Agree what can remain in place, how appliances are protected and when the kitchen is unavailable. This separates wall tiling from an unplanned intervention in operating equipment.
Plan worktop junctions and corners
The line beside the worktop needs planning for the substrate and specified joint system. Rigid grout is not a universal solution for every connection between different materials. Discuss which joints need another treatment, the material used and when cleaning is permitted. A visible junction belongs in the agreed result.
Account for ordinary splashes near the sink without declaring a backsplash a complete waterproofing system solely because it is tiled. If the wall condition is uncertain, assess the cause before covering it. The grout and joint guide covers selection and care questions. A suitable system is more useful than a watertightness promise without inspection.
Prepare access at your Rehovot address
Describe the floor, lift, material storage and passage. Clarify carrying tiles and equipment if delivery ends at the entrance. Share the exact address with your chosen provider through the appropriate contact; the public request can focus on useful conditions. Not every Rehovot home has the same kitchen or approach.
Clear the worktop of food and belongings and remove dishes from the work area. Agree protection of cupboards, sink, floor and equipment. Cutting and dusty stages need a suitable plan rather than use of any spare room without permission. Name responsibility for waste and final working-area cleanup.
Compare the complete small-area quote
A small installation can require inspection, removal, preparation, many cuts and several visits. A square-metre price for a large job does not explain all those operations. Give providers the same pictures and layout before comparing. Newly discovered substrate problems after removal need another decision before additional work.
- Dimensions, selected tile, spare allowance and supplier.
- Old finish removal and substrate preparation.
- Layout, cutting, profiles, adhesive and joint treatment.
- Electrical stage coordination and kitchen restrictions.
- Protection, cleanup, visit count, total and VAT where applicable.
Specify socket replacement, furniture repair and appliance movement separately where actually needed. Do not hide them inside a complete backsplash line. For unsuitable substrate, ask for a picture, explanation and revised offer. This keeps a small decorative job understandable even where preparation proves more involved than expected.
Agree the sequence and readiness for use
Establish when cooking, washing, loading junctions and final cleanup are permitted. The regime depends on products and conditions; one time does not suit every adhesive and sealant. If this is the only kitchen, arrange temporary use before starting. Do not accelerate the next stage merely because the surface looks finished.
Keep material names and provider instructions. If a separate visit is needed for joints and finishing, agree its date and cost beforehand. A missing edge profile can delay readiness as much as drying. Check tiles, endings and required components before starting rather than after the main installation is complete.
Inspect the finished backsplash
Compare the material, pattern, end pieces and joints with the approved plan. In normal light, check alignment with the worktop and cupboards, new chips and the agreed edges. Visible electrical parts should be finished by the appropriate specialist as planned, rather than left as an assumed future task.
Inspect protected surfaces: worktop, sink and fronts should remain in the agreed condition. The paint and grout residue guide helps with later cleanup questions, but actual care must suit the surface and its readiness. Report concerns before applying a strong treatment to the new area yourself.
A useful Kablay request
You could write: “Rehovot kitchen backsplash installation. Cupboards and worktop are installed; photos, measurements, tiles and socket positions attached. The painted substrate needs preparation assessment. Please propose layout, edges, junctions and materials. Include kitchen protection, electrical stages separately, visits and permitted use dates.” Replace the example with the actual installation conditions.
Compare replies through the Rehovot tiler page using that description. A good backsplash starts with a prepared substrate and agreed layout. The small area can then look finished while its price and inspection refer to the same understandable job.
Internal links
Useful pages on this topic
Frequently asked questions
- What details help quote a Rehovot kitchen backsplash?
- Provide dimensions, substrate photos, selected tile, boundaries, sockets and the installed state of cupboards and worktop. List removal, edges and related trades separately.
- Can tiles be fitted on a painted wall?
- Sometimes after appropriate preparation. Assess strength, contamination, coating condition and system compatibility first. Paint alone does not prove substrate suitability.
- Who handles sockets during tiling?
- Necessary electrical work is planned by an appropriate qualified specialist. Agree it separately, including added thickness and readiness at handover.
- When can I clean the new backsplash?
- Follow the selected materials and provider instructions after the permitted stage. Adhesive, grout and junctions can have different readiness conditions.