🎨Painting and plaster
Painting a Dark Wall Light: Primer, Coverage and a Clean Finish
By KABLAY Editorial · · 8 min read · Updated:
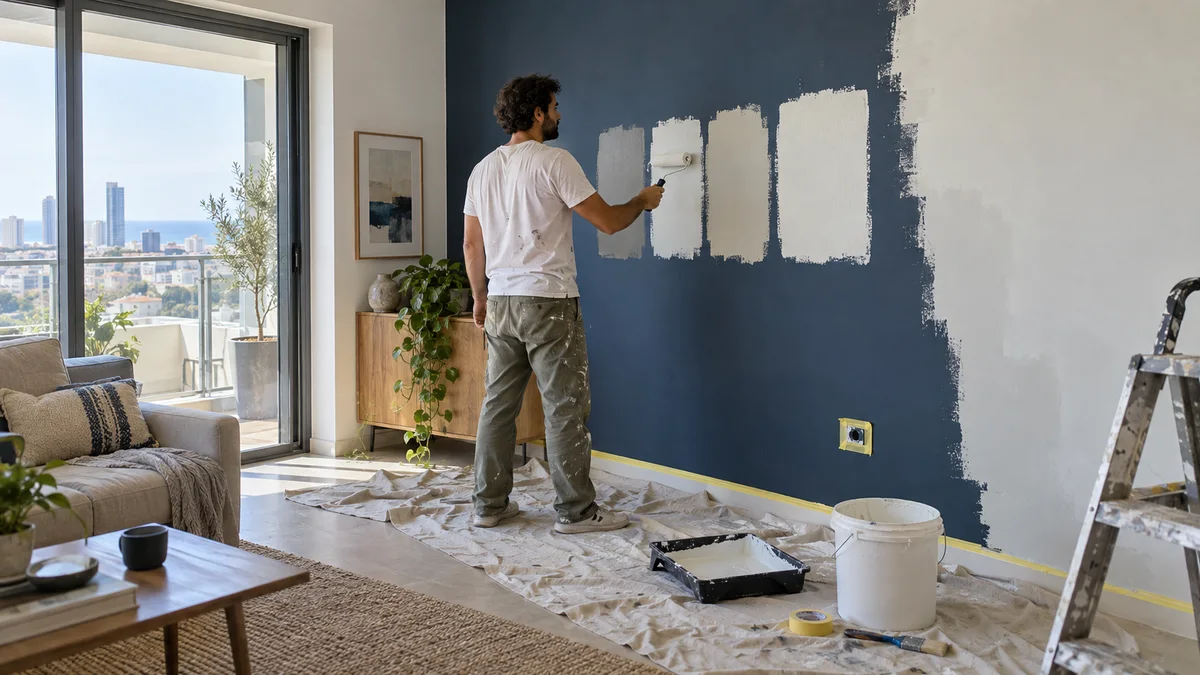
A navy or burgundy feature wall can become a pale wall without an endless stack of paint coats. Coverage is only part of the challenge: raking light exposes roller bands, an old glossy film can affect adhesion and filled patches absorb paint differently. A good finish starts with a substrate check and a small test area, rather than a promise that one coat will hide everything.
Inspect the existing finish
Look in daylight and with light cast along the wall. Find flaking paint, grease near a kitchen, tape residue, glossy areas, cracks and damp marks. Remove unsound material back to a firm base; fix active moisture and let the wall dry before decorating. Sound old paint does not necessarily need to be stripped completely. Cleaning, light abrasion and primer still have to match the coating. Photograph pre-existing defects so the starting condition is clear.
Test the color on the real wall
Pale beige, cool white and warm grey change character between morning sun and artificial light. Paint a generous sample on the actual wall, allow it to dry fully, and view it from normal distance with furniture in place. Record the color code, sheen and product line in writing. One named color may appear different across finishes. On a wall hit by strong side light, a matte or suitably low-sheen finish can make small imperfections less obvious, though cleaning durability also matters. A phone screen is not an adequate color sample.
Decide whether primer is needed
Primer may even out new filler, improve adhesion over a difficult finish, block certain stains or help hide the former color. These are different jobs; there is no single product for all of them. Benjamin Moore's guidance notes that primer can assist a dark-to-light change, while some high-quality paints cover many color transitions in two coats. Ask why a particular primer is proposed and whether it is compatible with both old and new coatings. A test patch tells more about actual coverage than a label promise.
Preparation saves more than an extra coat
Move or cover furniture, protect floors and electrical faceplates, and remove any loose old coating. Clean grease and dust with compatible methods. Filled chips must dry, then be sanded flush with the surrounding plane. A spot-primed patch can have a different texture, so the painter should address both surface level and absorption. Paint on dust has a weak bond; a thick coat added for speed can leave runs or uneven sheen. Follow the chosen product's technical data for time between coats.
Agree on the number of coats
A quote can reasonably assume preparation and two finish coats, with a documented decision after the trial area if the old color still shows. Benjamin Moore recommends two coats for complete color development even with high-hide products. Primer does not always replace either finish coat. Have the quote name the paint, primer, planned coats and condition for an extra pass. This prevents a surprise surcharge after work begins. Estimate material using the wall area, texture and waste, rather than relying only on the can's nominal coverage.
Application and roller marks
Paint the whole plane from corner to corner, maintaining a consistent wet edge and selecting a roller suited to the wall texture. Several small patches in the middle of a large wall can remain visible after drying because their sheen and roller direction differ. Inspect each dry coat with light from the side; wet paint can hide defects. A shinier spot may come from substrate absorption or application technique rather than the wrong color code. Determine the cause before ordering yet another coat.
Quote and inspect the result
Ask for two options: the single feature wall and the entire room if transitions between walls matter. Itemise preparation, chip repair, furniture protection, named materials, coat count, cleanup and VAT. Agree separately on ceiling, doors and skirting. Accept a fully dry wall in morning and evening light: look from ordinary distance, then check edges and around sockets. Ask for the final color code and a small properly sealed leftover quantity for future repair. A painter request with current-wall and desired-color photos yields clearer comparisons.
Internal links
Useful pages on this topic
Frequently asked questions
- Does every dark-to-light repaint need primer?
- No. It depends on the old coating, sheen, stains, filled areas and chosen paint. A dry test patch is the most useful check.
- Is one coat of expensive paint enough?
- Can price alone does not guarantee even coverage on your wall. Agree on a sample and normally two finish coats, then inspect after drying.